POSTED ON BY NASCOMPARES
How to Synchronise your Synology and QNAP NAS

There may be a number of different reasons how you could end up having two such different NAS systems like QNAP and Synology. You might have been using one and now decided to change because the previous older NAS server did not fulfill your expectations, or perhaps it has lived long outside your warranty and you are ready to upgrade. Don’t think that the old NAS is now useless, throwing your first NAS away would be such a waste. Why not set the device up and running as a network backup in your home or offsite? Everyone knows that RAID is not a backup, but merely a means to protect your data from hardware failure. But that old NAS could be the backup you have been waiting for.
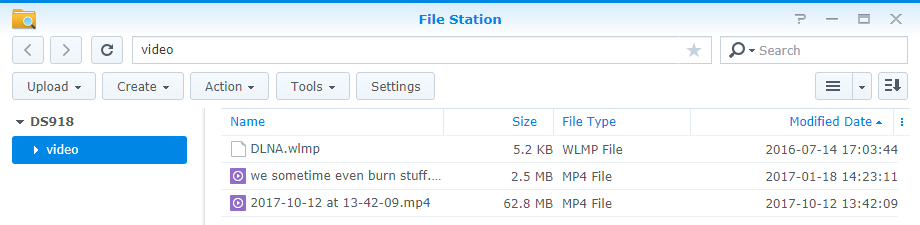
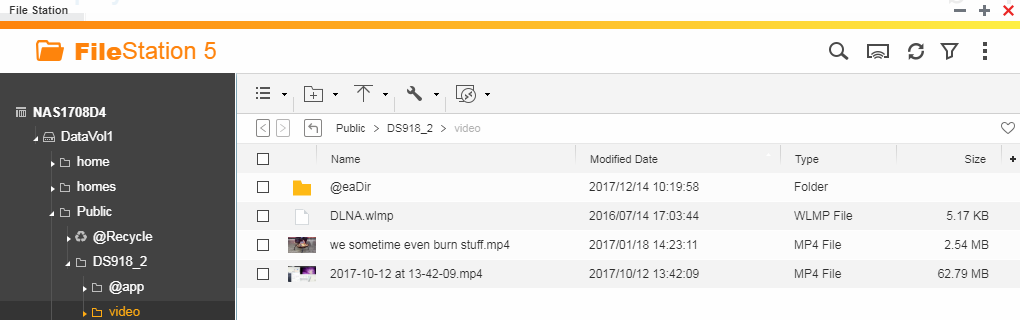
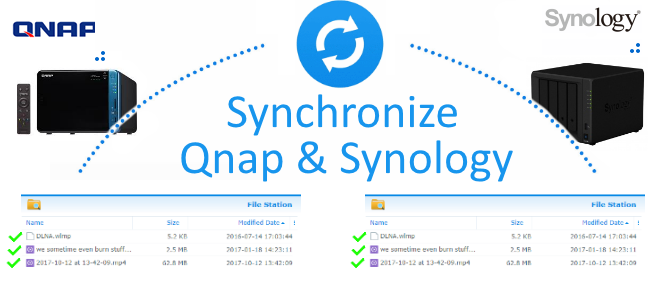
There are several ways to back your NAS up, but the one that I will highlight today will make the most sense (as well as only needing to be set up once). It is called NAS synchronisation, which means whatever files you have on your main NAS will be duplicated on your backup NAS. By setting up a backup in this way, if disaster strikes and you lose the data in the RAID enabled new unit (nothing is perfect!) main unit, you can just switch to your backup unit and connect to that. Files will not be archived, compressed or encrypted in some unusable way and it will be immediately ready to take the load/traffic. You will get the same folder structure, very familiar to your other NAS and most importantly of all, have a comprehensive and reliable fallback in the time our new NAS is away for repair.
Following 10 steps will guide you through the synchronisation setup. It should also be noted that these steps are nearly identical for those that want to replicate and synchronise between two Synology NAS and two QNAP NAS devices respectively.
1. Download and Install Hybrid Backup Sync on your Qnap
This will enable communication between the two NAS server devices over your network (and the internet if required, but let’s not get to advanced yet).

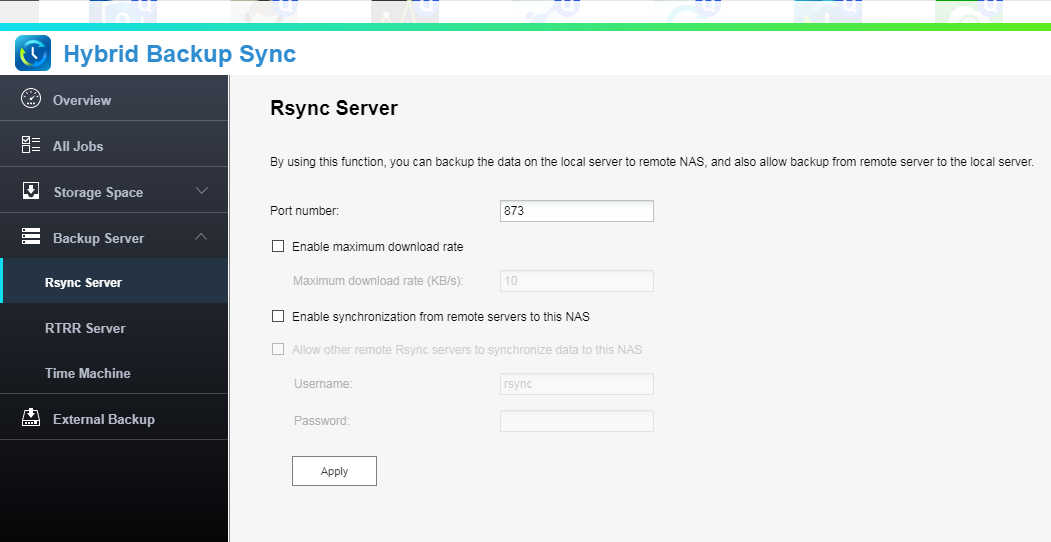
2. Enable Rsync Server
Rsync is a common utility for efficiently transferring and synchronising files across computer systems, by checking the time stamp and size of files. It is available on numerous NAS devices.
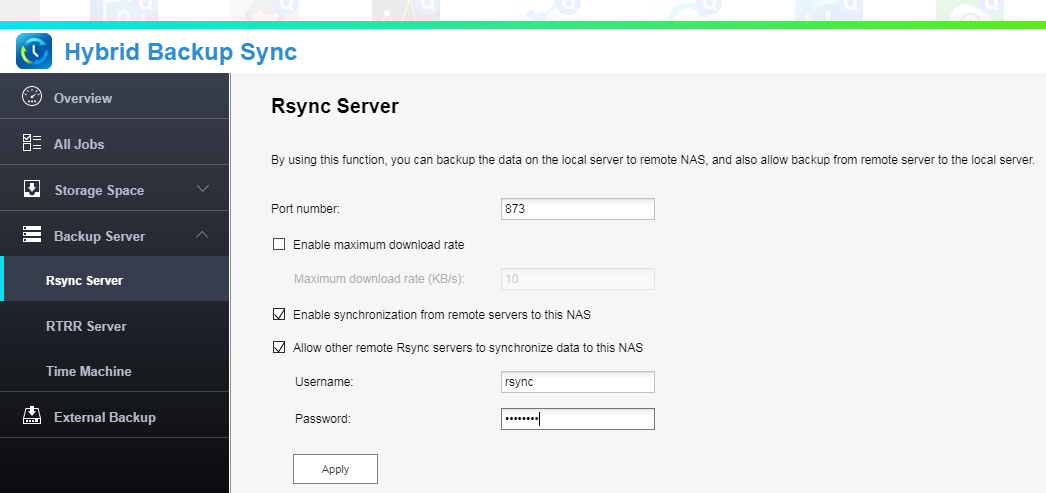
3. Set Rsync Username and Password
Be sure to make them memorable/make a note somewhere safe, as after this point you will have NO-WAY to retrieve this login information.
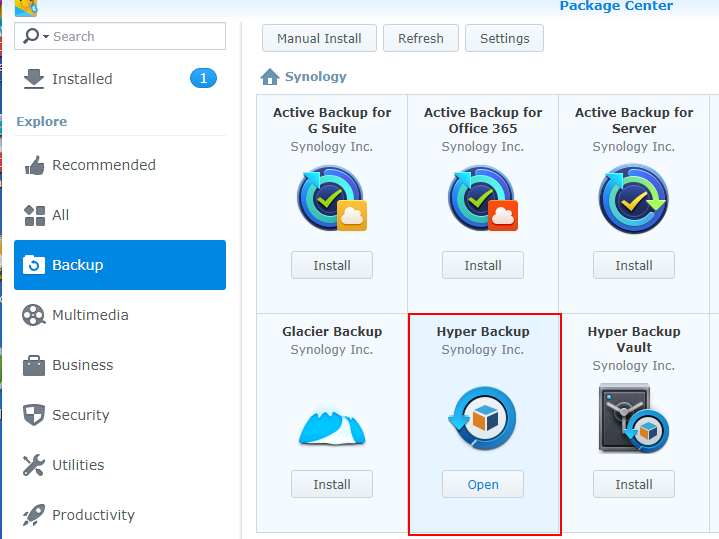
4. Download and Install Hyper Backup on your Synology NAS
Move over to your other NAS and the install Hyper Backup – as this will communicate with the first NAS above.
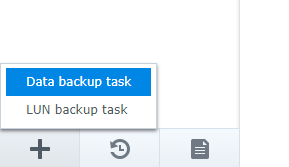
5. Create Data Backup Task
In order to begin the act of network server synchronisation, you need to set a task. You can action an immediate one afterward to get things moving, but you need to tell the software what exactly will require syncronisation on a file/folder/volume level.
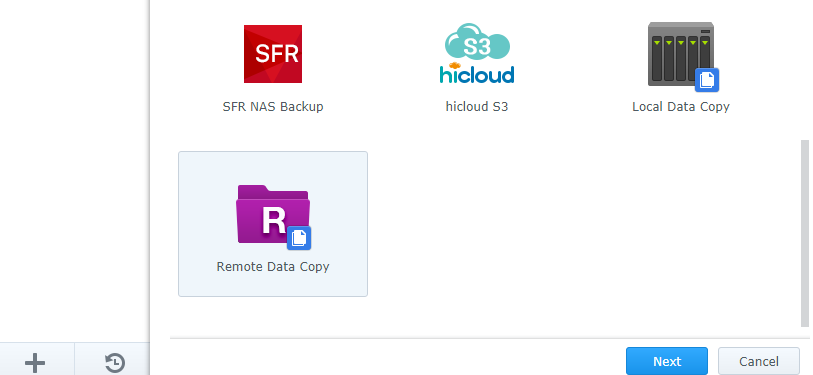
6. Choose sync destination option Remote Data Copy
Select Remote Data copy if the NAS is located off-site and Local if it will be on the same network (it is advised that it is kept off-site or in a completely different area of the building for safety)
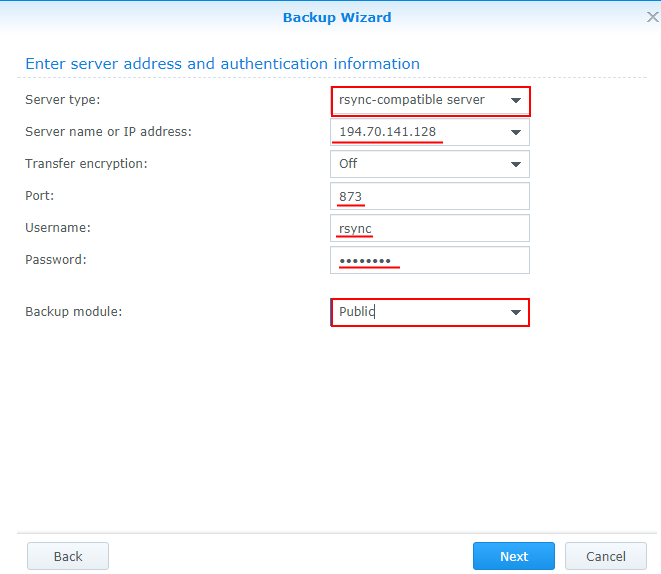
7. Enter Qnap rsync authentication information
Remember that login information earlier? Here is where you will need it (and every time you want to reconfigure the backup schedule/settings.
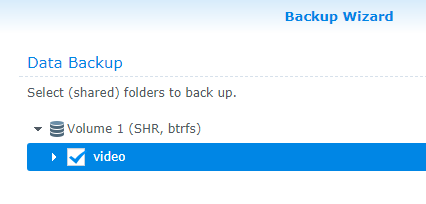
8. Select folder to back up
Thankfully you will not need to backup the whole NAS if you do not want to, this can cause strain on your bandwidth, as well as require significant storage on the backup (older) NAS device. You can select the core and most important/mission critical folders manually if you want.
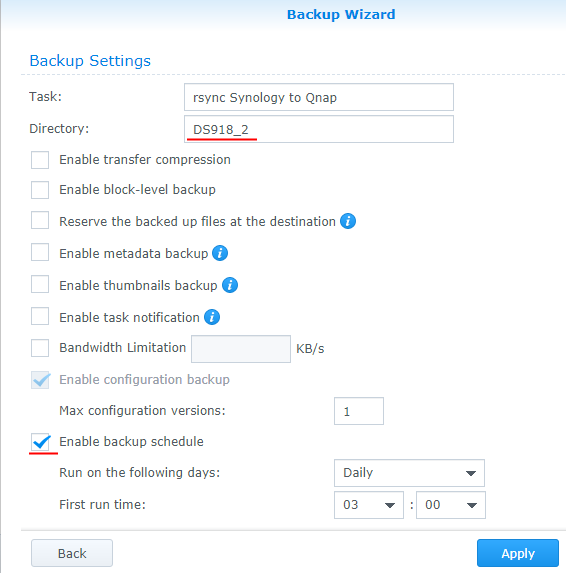
9. Configure Backup Settings and Schedule
Now the specifics of the backup parameters are done, you can set up a schedule (constant, hourly, daily, weekly, etc)
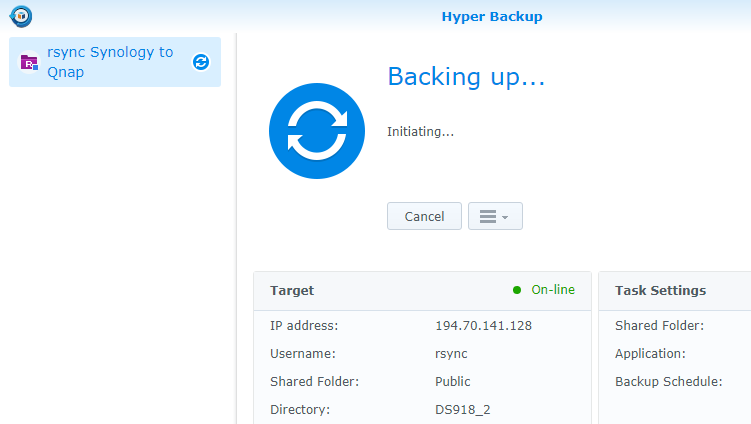
10. Do Manual synchronisation backup for the first time
To ensure all parts were done correctly, it is worth auctioning the first NAS sync manually.

Rescue – 3 Year Data Recovery Plan for Internal/Bare Drives (buy)